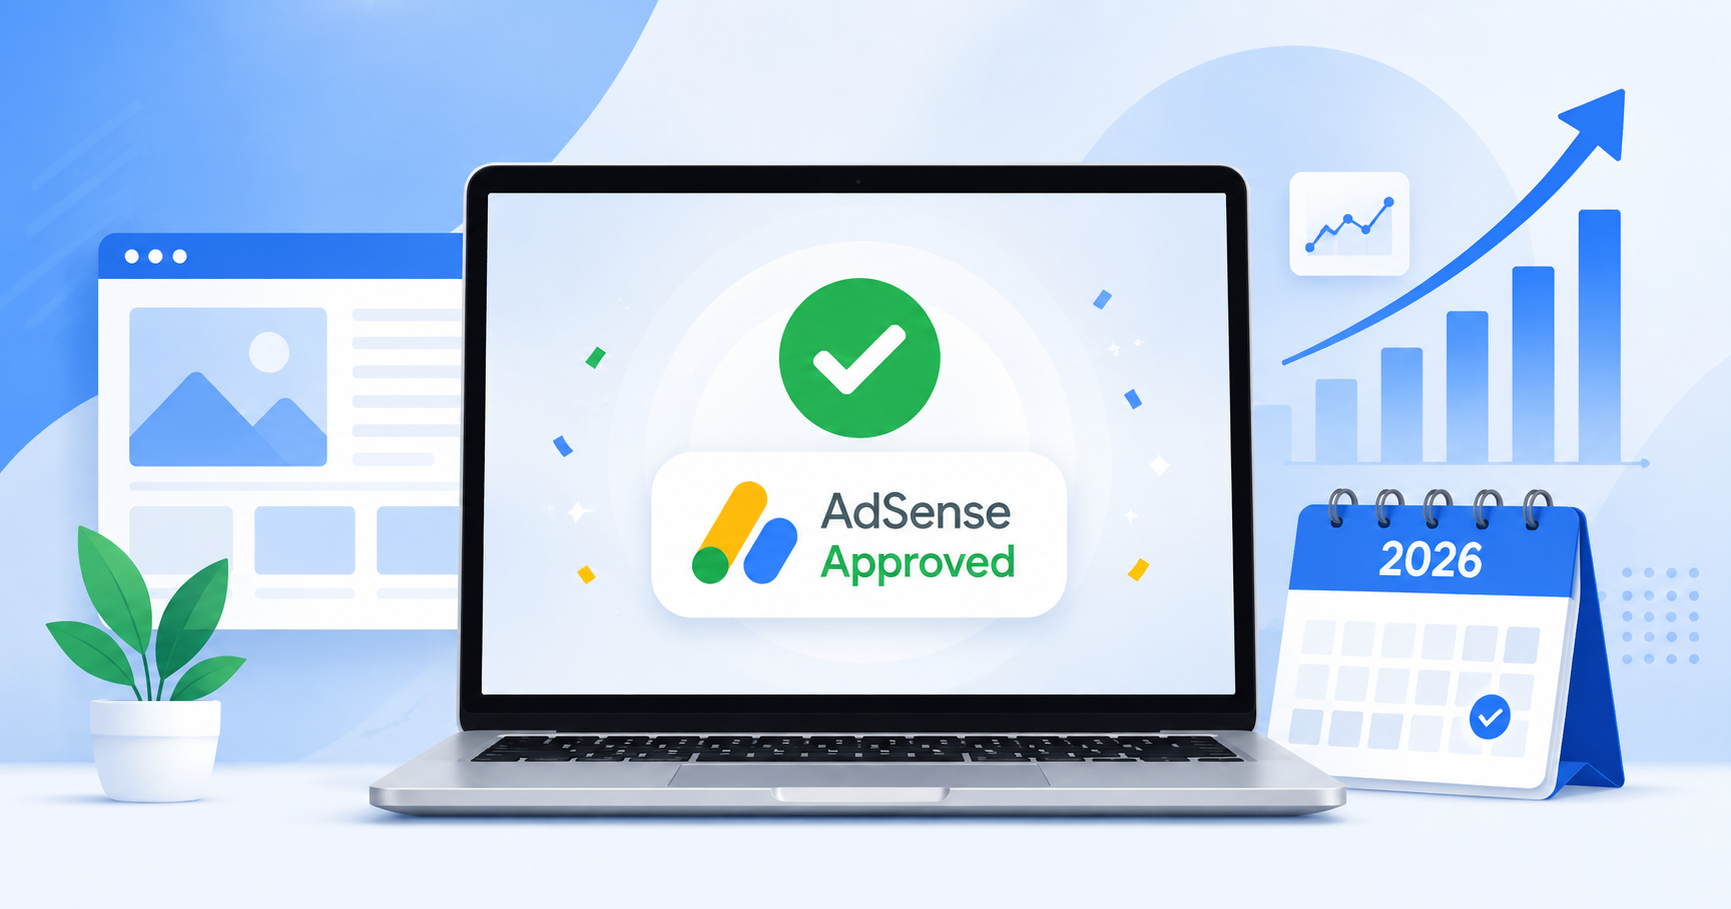
Getting your website approved for Google AdSense in 2026 feels harder than it used to be — and it is. Google's review process now looks far beyond word count, checking content originality, site structure, page experience, and policy compliance before it lets a single ad unit go live. If you've been rejected once (or twice), or you're preparing your very first application, this guide walks you through the exact blueprint successful publishers are using this year to get approved — often on the first try.
By the end of this article, you'll know exactly what Google's reviewers check, how many posts you actually need, which pages are non-negotiable, and how to avoid the mistakes that trigger instant rejection.
Why AdSense Approval Is Stricter in 2026
Google's Helpful Content System now plays a direct role in how AdSense applications are reviewed. Sites that read like they were written "for search engines" rather than for real readers face a much higher chance of rejection. Reviewers — both automated systems and human evaluators — are checking for three things:
- Content quality and originality — is this genuinely useful, or thin and AI-generated without editing?
- Site structure and user experience — is the site easy to navigate, mobile-friendly, and free of broken elements?
- Trust and policy compliance — does the site have the pages and transparency Google expects from a legitimate publisher?
Every recommendation below maps back to one of these three pillars.
Step 1: Build a Solid Content Foundation
How Many Articles Do You Actually Need?
There's no official number published by Google, but based on consistent approval patterns in 2026, aim for 15–25 well-researched articles, each in the 800–1,500 word range. Quality beats quantity every time — ten excellent, in-depth posts will outperform thirty thin, repetitive ones.
Content Rules to Follow
- Write in your own words. Never copy-paste or lightly reword content from other sites.
- Pick one clear niche and stay focused — a site that jumps between six unrelated topics signals low authority.
- Avoid publishing raw, unedited AI output. Use AI as a drafting aid, then rewrite, fact-check, and add your own examples and insights.
- Each article should answer a real question a reader is searching for — not just exist to hold an ad slot.
Step 2: Add the Pages Google Expects to See
Missing pages are one of the most common rejection triggers. Before applying, make sure your site includes:
- About page — explain who runs the site, why it exists, and what visitors can expect.
- Contact page — a working email address or contact form.
- Privacy Policy — required by AdSense's own terms of service.
- Terms & Conditions / Disclaimer — especially important for niches like finance, health, or product reviews.
These pages tell Google's reviewers that a real person or organization stands behind the content — not an anonymous placeholder site.
Step 3: Fix the Technical and UX Basics
- Enable HTTPS on your entire domain.
- Use a clean, mobile-responsive theme with clear navigation and no intrusive pop-ups.
- Check Core Web Vitals — slow-loading, layout-shifting pages hurt both approval odds and future ad revenue. (We cover this in depth in a dedicated guide — link below.)
- Remove broken links, placeholder text ("Lorem ipsum"), and empty category pages.
Step 4: Let Your Domain and Traffic Mature
Google has never confirmed an official minimum site age, but data across thousands of applications shows that domains younger than 3 months face noticeably higher rejection rates. In some high-application-volume countries, reviewers are especially cautious with very new domains. If your site was just registered, focus on publishing consistently for a few weeks before applying rather than rushing your first submission.
There's also no official minimum traffic requirement, but showing some organic, indexed traffic — even a modest amount — signals that real users find your content valuable.
Step 5: Apply the Right Way
- Log into your Google AdSense account and add your site.
- Paste the AdSense verification code into your site's
<head>section (most CMS platforms have a plugin or theme setting for this). - Submit your application and wait — most decisions arrive within 1 to 3 weeks.
- If rejected, read the specific reason Google provides. Fix that exact issue before reapplying instead of making broad, unfocused changes.
Common Rejection Reasons (And How to Avoid Them)
| Rejection Reason | Fix |
|---|---|
| Insufficient content | Publish 15–25 in-depth, original articles before applying |
| Site doesn't comply with AdSense policies. | Review the AdSense Program Policies line by line |
| Low-value or duplicate content | Rewrite thin posts; merge overlapping articles |
| Missing required pages | Add About, Contact, Privacy Policy, and Terms pages |
| Poor navigation/design | Simplify your menu; remove clutter and broken elements |
What Happens After Approval?
Once approved, resist the urge to plaster every page with ads. Placement, density, and layout stability directly affect both your revenue and your long-term account health — we break this down fully in [Best Google AdSense Banner Placements to Double Your CTR Without Policy Violations]. It's also worth understanding how AdSense compares to Google Ad Manager as your traffic grows — see [AdSense vs Google Ad Manager (GAM MCM): Which is Better for Your Revenue?] for a full breakdown.
If you want to track how your giveaways or engagement campaigns contribute to your traffic growth during this pre-approval phase, PubVelo's built-in Giveaway tool can help you build an early audience list while you finish content prep — worth checking out before you apply.